DODGE 2D FITTING SYSTEM step-by- step instructions
You will need:
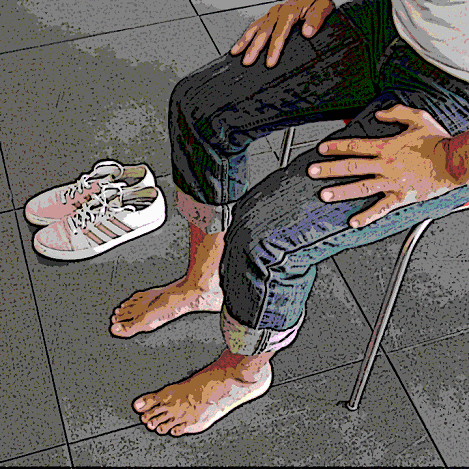
- A chair to sit on
- A natural well-lit area
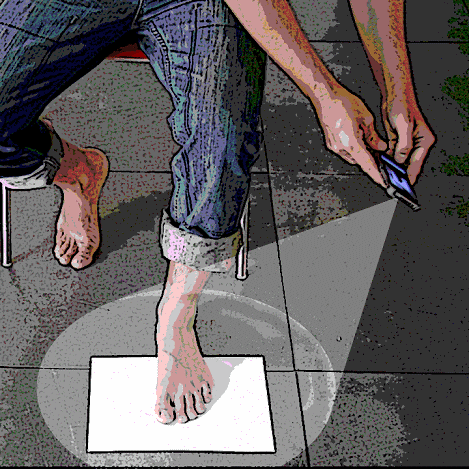
- Bare feet (take off your socks, roll up your pants)
- Standard white piece of paper (ISO A4 or US size 8 ½x11; be sure to specify which in the Remote Fitting Questionnaire)
Let’s start with the right foot
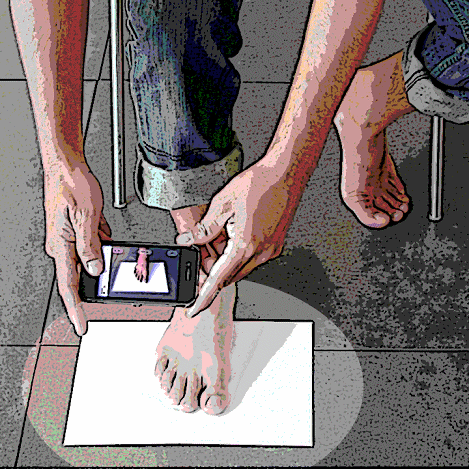
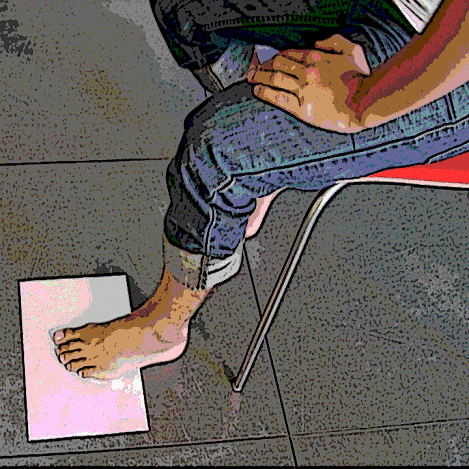
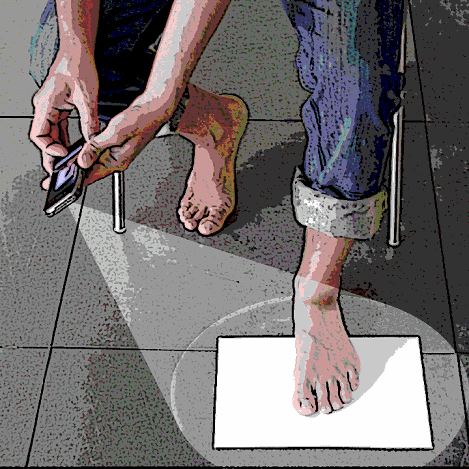
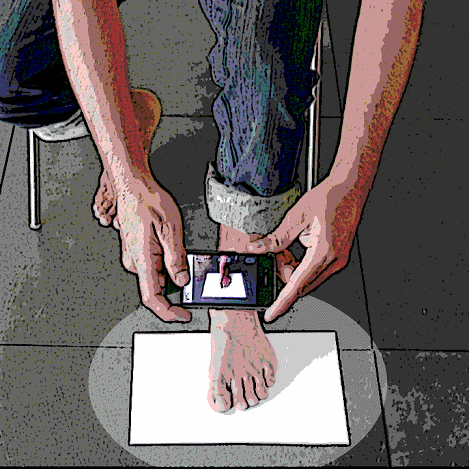
- Place half of the foot over the paper
- You’re going to take 3 photos of your foot. It’s very important to include the four corners of the paper in every photo and you do not move your foot position until process ends.
- Without moving the foot, focus the inner side of your right foot displaying the arch and including the whole foot and the four corners of the paper.
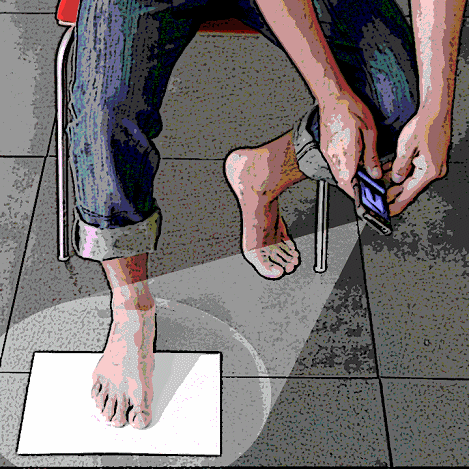
- Without moving the foot, from up, focus the upper side of your right foot including the whole foot and the four corners of the paper.
- Without moving the foot, from lateral, focus the outer side of your right foot including the whole foot and the four corners of the paper.

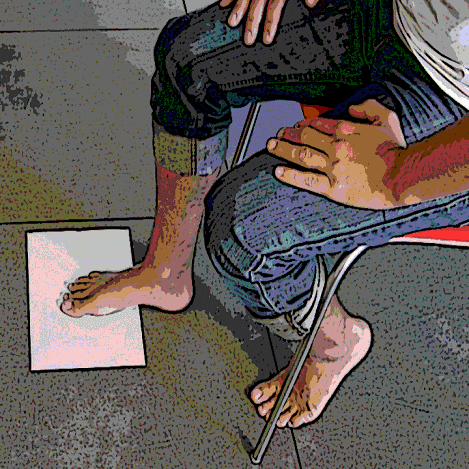
Repeat the process with the left foot
- Place half of the left foot over the paper (see the picture).
- Remember not to move the left foot until the end of the 3 photos.
- Without moving the foot, focus the inner side of your left foot displaying the arch and including the whole foot and the four corners of the paper.
- Without moving the foot, from up, focus the upper side of your left foot including the whole foot and the four corners of the paper.
- Without moving the foot, from lateral, focus the outer side of your left foot including the whole foot and the four corners of the paper.